 |
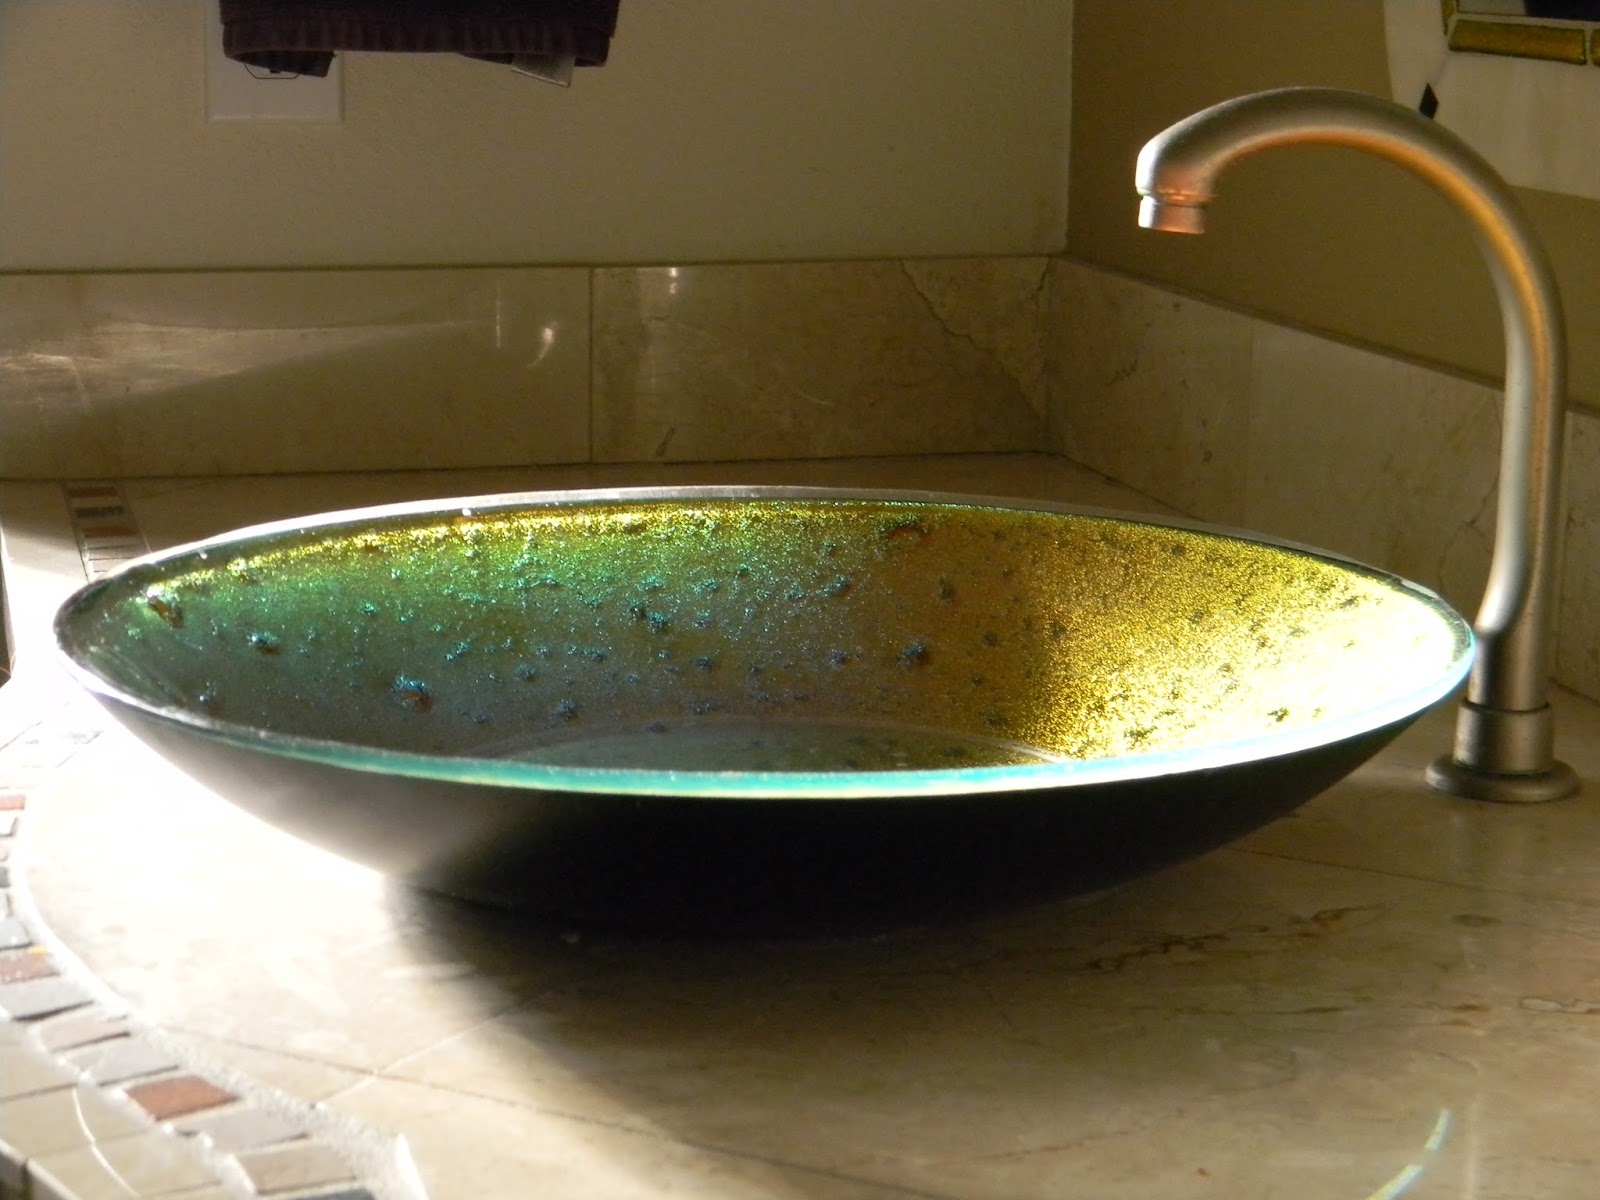
| As seen in Fused Vessel Sinks with Lisa Vogt Video DVD |
We are an ever-growing community. The wonderful thing about
glass fusing is you can jump right in and start making beautiful projects with
little or no experience. It’s this ease of fabrication that attracts so many
new artists to the medium. Building the projects is the fun and easy part.
Successfully firing and slumping the projects is where a little background knowledge
comes in handy.
For the experienced glass crafter, with an established firing
routine, this material may be a review and confirmation you’re on the right
track or it might give insight into a new, possibly easier method you were
overlooking.
If you’re a learn as you go beginner, or fresh out of an introductory
class, this information will give you a deeper understanding of the importance
of kiln shelf and slumping mold preparation.
 |
| As seen in Fused Vessel Sinks with Lisa Vogt Video DVD |
Let’s get started.
What you need to now.
It’s necessary to apply and even coat of shelf primer (also
known as kiln wash or separator) to the firing surface prior to fusing or
slumping glass on that surface. Shelf primer acts as a separator. It prevents
the super-heated glass from sticking to the kiln shelf during the fusing
process, or the mold, during the slumping or draping process.
There are several different brands of shelf primer. Some
come dry and are mixed with water. Others come premixed in a spray can. They
all work equally as well, but some are better suited for specific techniques
than others. For example, if a primer is intended to work up to 1550 degrees it
wouldn’t be a good choice for glass combing which is done at 1600 degrees. You’ll
find this kind of information on the product label. It’s always a good idea to
refer to the manufactures suggested specs for guidance prior to use.
 |
| As seen in Fused Vessel Sinks with Lisa Vogt Video DVD |
When I full fuse glass, I prime the kiln shelf, whether
it’s a ceramic or fiber board shelf, every time I use it. That way I’m certain the
glass won’t stick to the surface.
When fused glass sticks to a ceramic shelf the project
breaks because the glass is more fragile than the ceramic shelf. When fused
glass sticks to a fiber board shelf the project remains intact. But the glass
pulls a chunk out the shelf and leaves an ugly hole behind, then you have to scrape
the chunk of shelf off the backside of the glass. The residual shelf often leaves
an unattractive haze on the back of the project, so it’s worth avoiding.
 |
| As seen in Fused Vessel Sinks with Lisa Vogt Video DVD |
To prime a ceramic or fiber board kiln shelf I mix the dry
primer with water according to the package directions. When preparing a
pre-used shelf, I apply the primer in one direction with a wide natural bristle
brush. A second coat is applied in a different direction. And then a third coat
is added. I’m looking for a smooth, even colored coating.

If in doubt, add another coat of primer, it won’t hurt. If
the primer begins to clump and isn’t going on smoothly any longer you’re on the
verge of over doing it. Stop. Let the shelf dry and then hand rub the shelf to
smooth out the surface.
Brand new shelves are more porous and require more coats of
primer the first time they’re prepped. It may take as many as 5 or 6 coats to
get the same even coating and smooth surface.
On pre-used ceramic shelves, I prime right over the spent
primer. However, if the primer is chipped or flaking I sand or scrape the old
coating completely off. Once the old primer is removed, I re-prime the shelf as
previously described.
For fiber board shelves, I prime right over the spent
primer even if it has chips, flakes or cracks in the old primer. The fresh coat of
primer re-seals the shelf and smooths out the blemishes.
Priming molds.

Glass fuses at 1465 degrees. Glass slumps at 1265 degrees.
I use the same primer on my kiln shelves as I do on my slumping molds. The
primer is designed to go to temperatures higher than 1600 degrees.
When we slump glass at 1265 degrees we’re well below the
primer’s top temperature. I use my ceramic and stainless steel slumping molds
multiple times before re-priming them. I re-prime them when the old primer
shows signs of wear. Signs of wear would include thin patches, exposed mold
surfaces, cracks, chipping or flaking. When these flaws are visible, I sand the
mold down to the bare material and then apply three coats of primer until I get
a smooth even coating.
Good housekeeping.
The primer I use is pink before firing and white after
firing. I have multiple shelves for each of my kilns. If a primed kiln shelf
sits around for a while the pink color can fade. It makes it difficult to tell
if the primer is new or not. To keep track of my prepared shelves, I store my
primed shelves leaning against the wall, behind the kilns they fit in. After a
shelf is used I lean it against a different wall in my studio. When the stack
is thick, I prime all the used shelves at one time. The newly primed shelves
are then stored behind the kilns. It’s a simple system, but it works.
My slumping molds are stored on shelves. Because they’re
used multiple times before re-priming, their primer color is white, not pink. Coming
out of the kiln, if I determine a mold needs to be re-primed, it doesn’t go
back on the shelf until it is re-primed. Then when I reach for a mold off the
shelf I know it’s ready to use.
The more you know about glass fusing and the procedures
that lead to successful kiln operation, the more likely you are to delve deeper
into the craft. With the working knowledge taken care of you can focus on the
fun stuff, creating.
Get going!
Happy fusing!
Lisa
Lisa
See priming a shelf and mold on YouTube
Prime Time with Lisa Vogt Tips for Shelf
and Mold Prep
Upcoming
Workshops and Webinars
 |
| Creative Slumping Webinar |
Back by popular demand
Creative Slumping Webinar
May 9, 2017
Webinars
are a wonderful way to stay connected to other fusers and keep the creative
flow strong between hands-on workshops. In this webinar, I show you how to use
materials you likely already have in innovative ways to make new and unique
shapes. You’ll be amazed at how simple combinations can transform ordinary
shapes into sculptural works of art. I hope you’ll join me for this fun and
informative live event.
 |
| Glass Quest 2017 |
Meet me in West Palm Beach!
Glass Quest 2017
May 26, 27 & 28, 2017
West Palm Beach,
Florida
For more info http://www.mcmow.com/glass-quest-2017/
A
weekend of education, inspiration and engagement for glass enthusiasts of all
types. Incredible networking opportunities, as well as overall engagement in
the evolving world of art glass education & advocacy! Meet & partner
with other glass artists as we push the boundaries of Glass as a Contemporary
Art Form!
 |
| Upscale Fusing Webinar |
Back by popular demand
Upscale Fusing Webinar
July 25, 2017

Advanced Glass Fusing Workshop
September 26-29, 2017
4-Days, Hands-on,
Wesley Chapel, Florida
You’ll
love the concentrated, in-depth study and creative momentum you’ll gain while
actively producing, nonstop for four consecutive days.
Push
the boundaries art glass imposes. Explore innovative approaches to design and
combine multiple advanced techniques to construct original art that reflects
your own personal style. Enjoy: the one-on-one instruction, making large scale
projects, the well-equipped classroom, and the intimate class size.
Advanced Glass Fusing Workshop
November 14-17, 2017
4-Days, Hands-on,
Register here http://www.lisavogt.net/products.aspx?id=478
Wesley
Chapel, Florida
Inspiration!
Knowledge! Confidence! Get the tools you need to create exceptional glass art
here. You’ll love the concentrated, in-depth study and creative momentum you’ll
gain while actively producing, nonstop for four consecutive days.
Push
the boundaries art glass imposes. Explore innovative approaches to design and
combine multiple advanced techniques to construct original art that reflects
your own personal style. Enjoy: the one-on-one instruction, making large scale
projects, the well-equipped classroom, and the intimate class size.