|
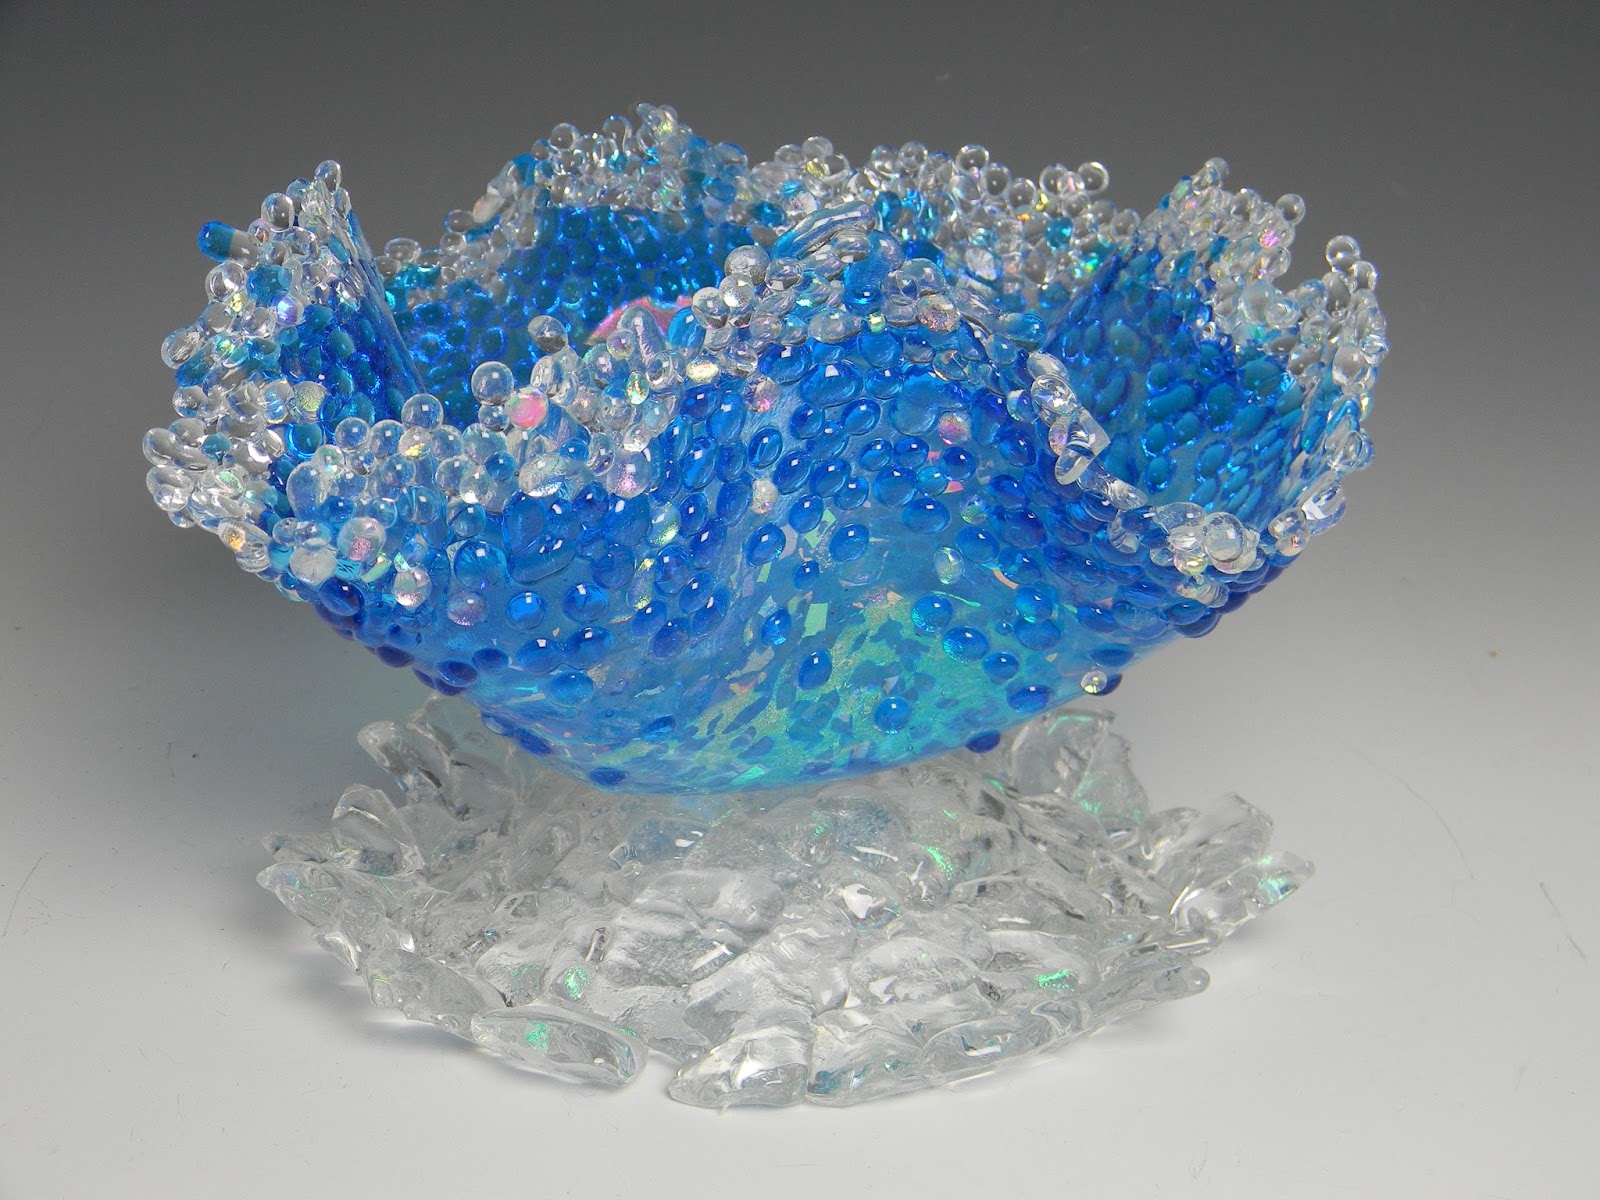
| Fairy Tale Forest from Painting with Frit Video DVD |
Frit is
your friend!
Fusing glass
is amazing. We fusers cut glass and super heat it to make cool designs all our
own. Solid colors make bold projects, but once you start playing with frit and
see all the new and exciting possibilities, you’ll be eager to add this small
material to all your big projects.
Frit is
crushed fusible glass. System 96 frit comes in 5 grain sizes: powder, fine,
medium, coarse and mosaic. Each size is available in 8.5 oz. and 4 lb. jars. Each
frit size has unique visual characteristics that you can push to ramp up your
fused glass projects. Let’s go over the many possibilities one size at a time.
Powder
Powder has
the silky consistency of confectioners’ sugar. It appears smooth and has
uniform color coverage after fusing. Powders can be used as filler between cut
glass pieces, to add shading, to add patterns and even as a repair tool. I use powder
when I want super strong color saturation along with multiple color blends.
 |
| Shere Power Pre-fire |
Shere Power is a great example. Wherever I
wanted tight control over my line quality and solid color saturation, I used cut
glass to represent the design. The cut glass was fixed to a clear base glass
with fuser’s glue. The glue keeps the pieces from moving when applying the
frit. Once the glue was dry, I poured powder frit between the pieces and
blended the colors with a wide, dry paint brush and a palate knife. The blended
powders give the art a beautiful painterly quality that dramatically contrasts
the solid color fields surrounding it.
 |
| Shere Power Post-fire |
Other fun uses
include using powder to add shadows to a solid base color. Apply medium and
dark green powder on top of light green glass to add shading to your design. Or
sift the powder over a stencil to add a crisp and intricate pattern to your
project.
 |
| Example of stenciling with powder frit. |
One of my
favorite uses for powder is to fill inconvenient gaps between my cut glass
pieces. Think of it like grouting tile. It’s easy and effective. Work a small
amount of powder into the gaps with a narrow paint brush. For added pop, use a bright
color that contrasts your design’s color palate.
 |
| Party Animals |
 |
| Detail showing frit filling gaps |
Powder Pros: It’s fast and easy to create
subtle or dramatic color blends that support your specific creative vision. Adding
shading and pattern is a snap.
Powder Cons: Cleanup is time consuming. The
powder requires meticulous cleanup to ensure the surrounding solid glass color isn’t
muddied. After removing any excess power with a brush, I go over the surface of
the glass with the corner of a damp towel or a damp Q-tip depending upon the
size of the surface area being cleaned.
Tips for working with Powder
·
Don’t be
skimpy when you use powder frit. For bright vivid colors, it’s necessary to fill
the space between your cut glass pieces to the top edge, in effect making the
frit 1/8 inch thick.
·
Be daring
and use high contrast colors, they display better in the finished piece.
·
Opal glass
colors tend to give a more dramatic effect than transparent colors.
·
Know your
glass colors. Powder frit specifically, looks lighter in the jar than the
actual glass color. Light blue and dark blue look the same just as transparent
light green and opal dark green look the same. If you’re not sure of the
intensity or opacity of a powder, look at a larger size frit like, medium or
coarse. Or find a piece of sheet glass with the same color code number, compare
it to the frit and the frit color and shade will be obvious.
·
Powder in
high concentration, like in a casting mold, looks milky after fusing. If you
want to use powder in a mold, layer it with clear in medium, coarse or mosaic
size frit. Using this technique will improve the transparency of the cast glass
project.
 |
| Sea Turtle made with fine, medium, coarse and mosaic frit. |
Fine Frit
Fine frit
has the consistency of granulated sugar. It appears grainy, like small uniform
dots after fusing. Like powder, fine can be used to fill gaps between cut
pieces of glass. The larger grain size makes it faster and easier to clean up
than powder. Fine is also great for shading when you want a slight textural look
to the shadows.
Fine Pros: Cleanup is fast and easy. In the
same application, it takes less material to do the same job with fine than it
does with powder. Fine is a great filler to use between larger frit. It gives
you complete color coverage and prevents the base glass from peeking through.
Fine Cons: Color blends within this same size
have a grainy appearance after fusing.
Tips for working with Fine
· Use fine frit together with other
frit sizes to produce visual textures.
Medium Frit
Medium
frit has the texture of coarse sand. When fused, medium frit retains the
sand-like visual appearance. I use this size frit when I want to fill in larger
areas with strong color quickly. It can also be used to create shading and
color blends provided you welcome variations in the coverage as provided by how
much frit or how little frit is applied.
Medium Pros: Medium frit provides you with quick, easy
coverage of large areas with strong color saturation.
Medium Cons: This frit has a grainy look and
the base glass may peek through the frit unless your layer is thick.
· Use both transparent and opal
glasses in combination for greater visual depth and to create shading.
· Use medium and fine frit together for
new color blends and to add visual texture.
Coarse Frit
Coarse
frit has the consistency of small pebbles. The pebble look remains after fusing. This frit is great for filling large
areas where you want visual texture to contrast solid fields elsewhere in the
project.
Coarse Pros: Coarse frit covers a lot of area
fast and it leaves an appealing pattern behind after firing.
Coarse Cons: The base glass will be visible
between this larger size grain. I fill in around coarse with both medium
and fine frit to intensify the color and hide the base.
Tips for working with Coarse
·
Use both
transparent and opal glasses in combination for greater visual depth and to
create shading.
·
Use fine and
medium frit together with coarse to produce pleasing textures.

Mosaic Frit
Mosaic has
a wide variety of glass shapes and sizes within the jar. This frit leaves a
vein-like impression after fusing. I use mosaic when I have a lot of space to
fill and when I want to create an organic pattern.
 |
| Example of clear mosaic frit used to change a solid color. |
Tips for working with Mosaic
Clear
glass layered on top of a color dilutes the color below. It’s like adding water
to paint. I like to put clear mosaic pieces on top of select elements in my
work to create subtle, lighter variations in the original glass color.
·
During
assembly, glue the mosaic pieces down with fusers glue so they don’t move when
you fill in the spaces in between.
·
Use both
transparent and opal glasses in combination for greater visual depth and to build
interest.
·
Use fine, medium
and coarse frit to fill gaps and produce interesting color combinations and
exciting textures.

Pull it all Together
Frit is a
terrific medium for making landscapes or other images where you want to create
an engaging depth of field. In nature, objects in the distance are lighter in
color, and they visually have less detail. When making landscapes, I use the
different frit sizes to emphasize those subtle differences.
I use powder
to render the sky because I can get smooth, gradual color changes. I use fine frit
to create the tree line and other filler foliage in the distance. The grain
size stands out in front of the powder and yet doesn’t compete with the
foreground. Medium frit works well for the mid-range elements that require more
intricate detail, like bushes or flowers. Coarse frit is well suited for
objects in the foreground, such as flowering plants or sweeping trees. These design
elements carry more visual weight and tie the design together. Mosaic frit is
great for specific up-close subject matter like a path or bridge. Such solid, recognizable
focal points lure the viewer into the design.
 |
| Detail of frit. |
System 96 frit comes packed in 8.5 oz. and
4 lb. jars. For the larger sizes like coarse and mosaic you may consider
crushing your own frit. The advantage to working from the jars though, is you
have uniform sizes within the jars and one single color throughout. Plus,
there’s no risk of contaminants like dirt or metal shavings that are present
when you crush your own glass. Personally, I prefer to jump right into the
design and fabrication phases rather than spend time swinging a hammer and
sifting glass.
I hope
this round-up entices you to start incorporating frit in your new work. It’s
such a versatile and easy to apply material. You’ll love the creative
flexibility if affords.
Get going!
Happy
fusing!
Lisa
Lisa
Follow my
blog for more tips and tricks!
Web www.LisaVogt.net
YouTube http://www.youtube.com/watch?v=dhOifd7wukk
Facebook www.Facebook.com/LisaJVogt
YouTube http://www.youtube.com/watch?v=dhOifd7wukk
Facebook www.Facebook.com/LisaJVogt
Twitter
https://twitter.com/lisajvogt
Want to learn more? Join me in my
Fusing with Frit Webinar
This Thursday, October 26, 2017
|
| Excerpt for Fusing with Frit Webinar Thursday, October 26, 2017 |
Let’s get together and fuse glass!
It’s LIVE! I come to you. There’s still time to register. I
hope to see YOU there.
Fusing with Frit Webinar
This Thursday, October 26,
2017
Register here https://www.glasspatterns.com/glass-patterns-quarterly-store/product/1145-fusing-with-frit-with-lisa-vogt-october-26-2017.html
Reshape the way you slump
and drape glass!
 |
| Except from Creative Slumping Webinar January 18, 2018 |
Creative Slumping Webinar
January 18, 2018
 |
| Advanced Glass Fusing with Lisa Vogt February 6-9, 2018 |
Are you a
hands-on learner? Join me in February!
Now registering!
Advanced Glass Fusing Workshop
February 6 – 9, 2018
Wesley Chapel, Florida
4-Day, Hands-on
You’ll love the creative momentum you
gain from working four consecutive days.
Exceed your expectations! This workshop
is ideal for ambitious glass fusers determined to go bigger and explore more
in-depth kiln forming techniques! Join me in this comprehensive, 4-day workshop
and enjoy, one-on-one instruction, step-by-step guidance to develop your own
design style and an individualized project program - make what inspires YOU!
Check out the New
Advanced Fusing Workshop video here