 |
| Tide Pool |
For every one of my photographs that you've seen published I’ve taken at
least three and sometimes as many as 20 pictures. I’m very picky about the
content and quality of my pictures, whether they’re high resolution product
images, process photos, or cute puppy snapshots. Every picture has a specific
purpose to clearly deliver an intended message to the viewer. There are some
very simple things you can do to improve the quality and impact of your
pictures.
1 Crop it with the camera. The view finder is your friend. Use it. Before you press the button to
take your picture, run your eye around the perimeter of the view finder. Make
sure only the objects you want, the things that strengthen and support your
subject, are included. Physically crop any distracting items from your photo.
You may have to change your position or get closer to your subject. Do whatever
it takes, but make it the cleanest shot possible right from the start.
 |
| Good: photo of kiln. |
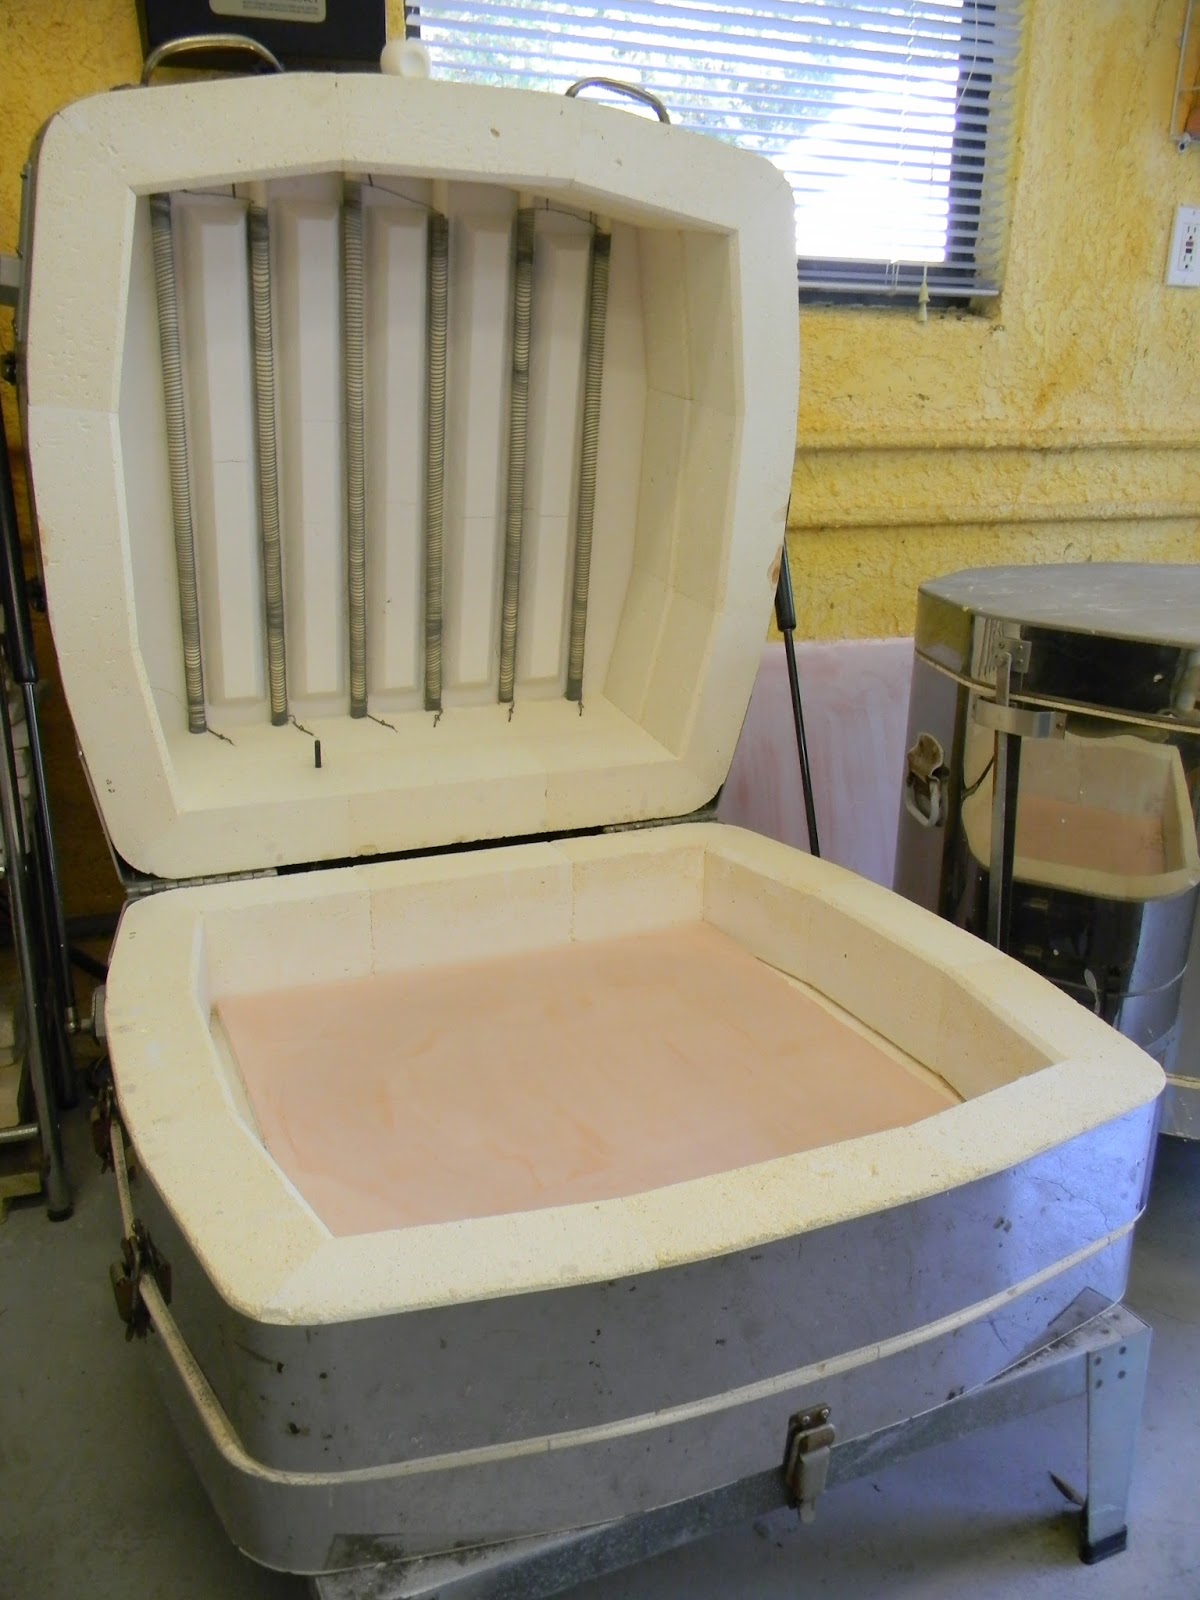 |
| Better: cropped with the camera photo of kiln. |
2 Background basics. One of the best backgrounds I’ve found for quick
shots is a large piece of white foam-board. It’s light weight and easily moved
from one lighting environment to another, such as from an indoor setting to an
outdoor site. The smooth, shiny surface reflects light very well which enhances
the object you’re photographing. While white cotton fabric, on the other hand,
absorbs light and as a result, robs your artwork’s dazzle.
 |
|
Good: photo of Asian Poppy taken on white packing foam sheets. Notice how lifeless
the glass looks.
|
 |
| Better: photo of Asian Poppy on smooth, reflective foam-board. WOW! |
3 Take advantage of natural light. This is especially true when photographing
glass, as natural light brings out the true color and depth of the material.
This practice works best if the light source is off to one side of the object,
as opposed to directly overhead, like a floodlight. Side illumination produces
desirable contrast; it sets a mood and creates drama. It also emphasizes the
three dimensional quality of your focal point. When taking photographs, I often
stage my artwork beside a window or take it outside late in the day, when the
sunlight is softer.
|
 |
| Bad: photo of Tide Pool. Without good lighting it looks flat and dull. BORING! |
4 Alignment is key. Before snapping the shot make sure that all horizontal and vertical planes
that appear in your photo are squared off; align them with the perimeter of
your viewfinder. For example, if there's a window or shelf in the photo make sure
the window casing in straight up and down. Make sure the shelf is level. This
makes those lines visually blend into the background as opposed to stand out.
There’s nothing more distracting than a random diagonal line running through an
image. In fact, it will usually cause your viewer’s eye to stray from your
subject, to follow the line right off your photo.
 |
| Bad: photo of Milky Way with distracting background with an odd angle. |
 |
| Great: photo of Milky Way cropped in the camera. Dazzling! |
5 Give your artwork a lift. If you’re taking pictures of
a plate, bowl or vase prop your piece up on a stack of 2” x 2” clear glass squares,
or with a clear acrylic stand. This allows light to pass through the glass creating
a drop shadow made of reflected color from the artwork. The shadow emphasizes
the beautiful transparency of the medium you’re working in, plus it shows off
the unique shape and color of your piece.
 |
Set up shot of Zebra Palm on acrylic stand.
|
 |
Glam shot of Tiger Palm and Zebra Palm on acrylic stands taken with natural
light on foam-board.
|
I keep these tips in mind when taking process
pictures of projects for tutorial articles, photos for my website and images
for presentations. These low-cost methods produce good quality images
quickly. When taking high resolution
product images, my set up is much more elaborate. My gallery quality pieces of
art are photographed inside a photo-cube that’s lit with professional quality studio
lights. The bulky equipment takes time to set up, it takes up a lot of room and
it’s a sizable investment. The advantage to venturing into that level of
madness is image quality. Your picture literally sells your work. It has to
make a strong enough impression to make someone act to buy.
Ah, but enough for now. We’ll explore that
lengthy subject in another post…
Happy snapping,
Lisa
Please visit my YouTube channel for more tips, tricks and tutorials
Upcoming Classes
Fired UP!
August 24-25, 2015
2-Day,
Hands-on Glass Fusing Workshop, D&L Art Glass Supply, Denver Colorado
Cast Away!
August 26-27, 2015
2-Day,
Hands-on Glass Fusing Workshop, D&L Art Glass Supply, Denver Colorado
Advanced Glass Fusing
September 15-18, 2015
4-Day, Hands-on, One-on-one
Instruction, Wesley Chapel, Florida
Don’t wait! Register online today, seats are limited!
News from the Studio. Subscribe
to my newsletter on my website.