There are few
things more exciting then melting glass, especially when you’re the one in
control of the super-heated flow. Pot melts are a terrific way to make your own
twisted mixes and curving color blends. The colorful glass patties that result
from your efforts have so many artistic possibilities, that you’ll never run
out of creative ideas for using them.
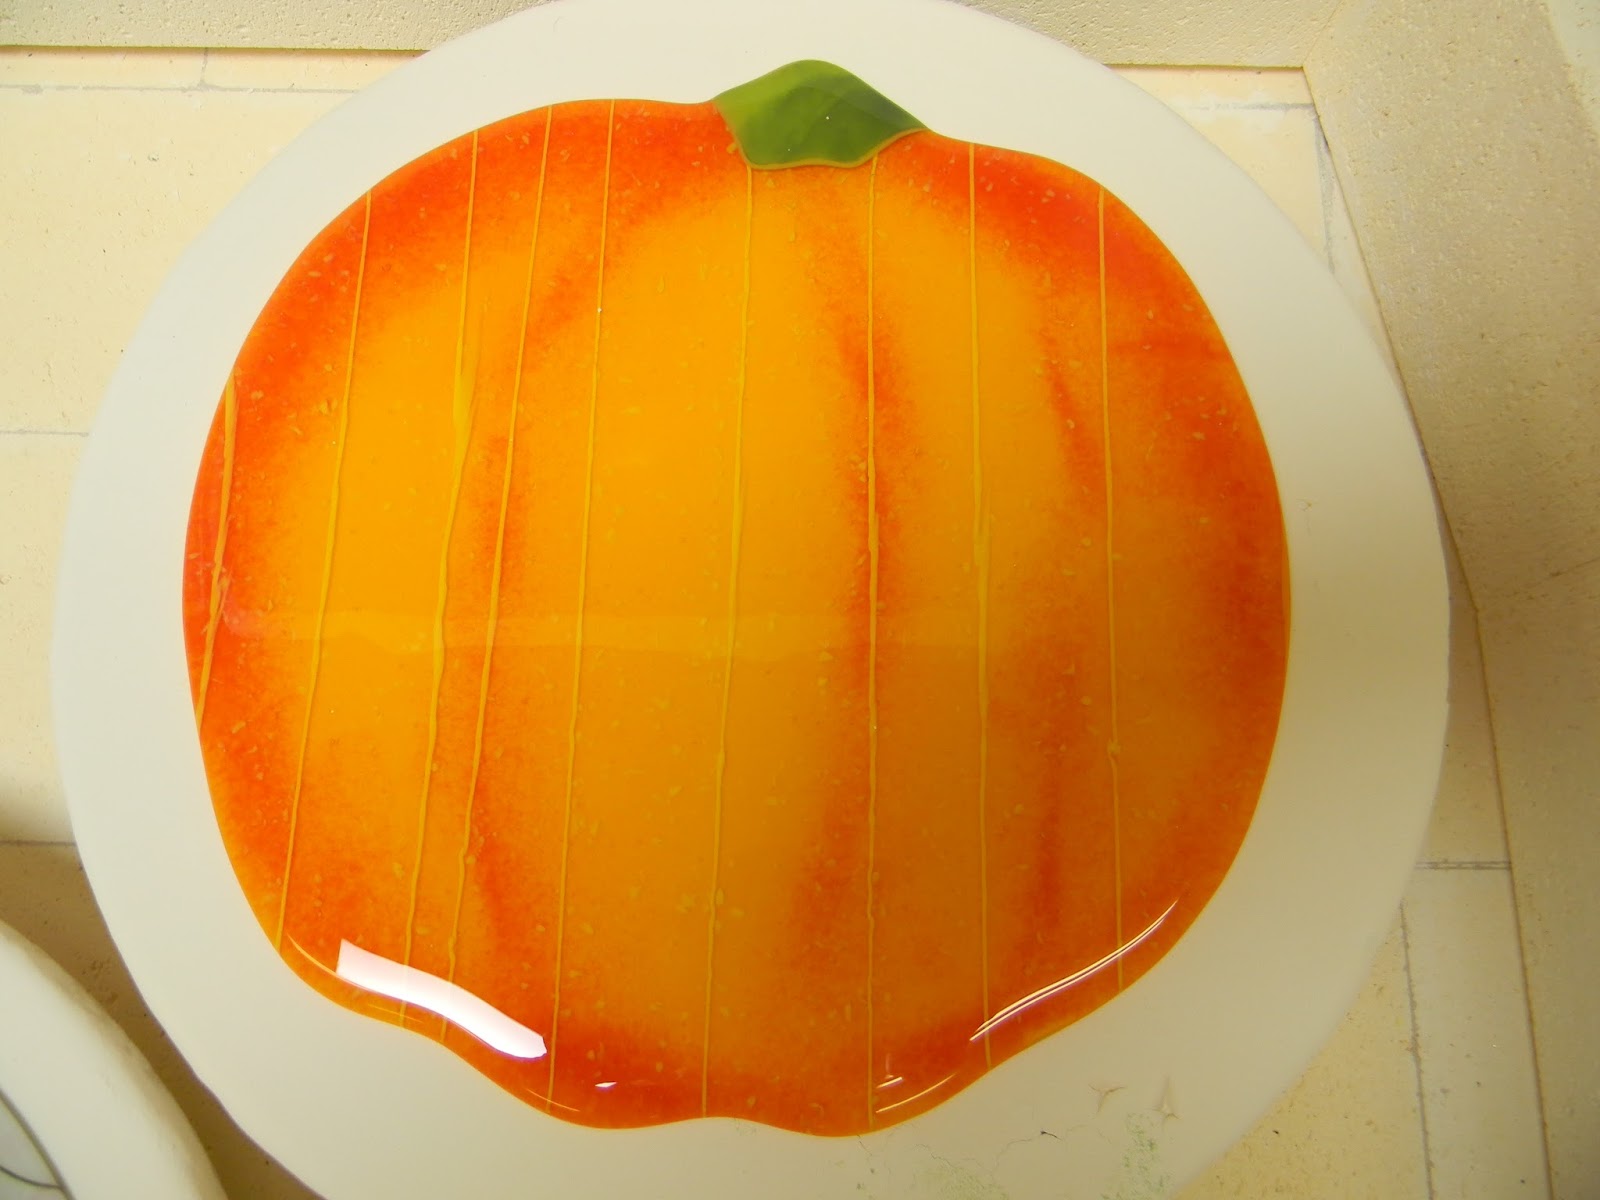
I like to cut some
of my pot melts into interesting shapes and then design them into my artwork. The
characteristic feathery pattern and vibrant color washes in pot melts, make them
showy focal points and therefore ideal for inclusion. On occasion, I’ll produce
a really special one that’s visually complete right out of the kiln and just too
beautiful to break up. I save those exceptional hybrids and slump or drape them
over a mold that gives them a flattering, sculptural shape that’s worthy of
display.
Selecting
glass.
The melting
glass mixes as it hits the kiln shelf and rolls away from the hole in the
bottom of the pot. Be sure to use plenty of clear glass in your pot melt to
ensure you retain the true color of each of the glass colors you include. Too
much color makes muddy puddles of glass. Also, I like to use both transparent
and opalescent glass in the same color to ensure that particular color is well
represented. For example, if I use aqua blue, I drop both transparent and opal
pieces of that color in the pot.

Experiment to
make different design variations.
How the glass
is loaded in the pot will affect the way the glass colors mix as they flow out
of the hole in the bottom. The size and shape of the glass placed in the pot
also changes the way the materials blend. I usually cut random strips of glass
that vary in width from ½ inch to 1 ½ inch wide and are anywhere from 3-inch to
6-inch long. I load the glass strips into the pot vertically so they melt like
long taper candles. Be sure to cut down any glass pieces that stick out above the
pot rim. They may damage the kiln lid or lid coils.
Another
variable to consider when setting up a pot melt, is the distance between the
bottom of the pot and the ceramic kiln shelf. Changing the distance between the
two will alter the way the glass gathers on the shelf and therefore result in different
patterns. Play with the position of the pot to get variations on your designs. But
keep in mind, that the top rim of the pot should be as far away as possible
from any heating coils. Otherwise, the terracotta pot can break if too close to
the heat source.

Safety first.
Take every
precaution to work safely. Wear natural fiber clothing and close toed shoes.
When making pot
melts, I stay in my studio while the kiln is heating and while it’s holding at
the target temperature of 1600 degrees. During the hold time, I monitor the
progress of the flowing glass by peeking into the kiln every fifteen minutes or
so. I flash vent when I have my desired
results. Flash venting stops the glass flow by quickly reducing the amount of
heat in the firing chamber.
To flash vent,
first determine you have the desired results and turn the kiln OFF. Next, with
gloved hands, open the kiln lid with a hook. Prop the lid open with a
5-inch-tall ceramic kiln post and step away. Allow the heat to escape the kiln.
When the kiln temperature reaches 1000 degrees, close the lid. Turn the kiln
back on and let the controller run through the annealing phase and the
remainder of the firing program.
NO PEEKING
until the digital controller shows room temperature.
Pot Melt Set Up
Kiln Specs
Skutt Clamshell, kiln
interior dimensions, 24 in. x 24 in., with a 13 in. depth
Heating coils in the lid.
Primed Ceramic kiln
shelf, 20 in. square.
(I use a primed ceramic shelf as opposed to a fiber paper lined shelf. Remember the glass
will be moving as it flows. We don’t want it to pick up any fiber material.)
Terracotta pot, 8 in.
tall, 8 in. wide at rim
Stainless steel rods,
½ in. x 18 in.
Kiln posts to support
steel rods
High temp gloves
Kiln post for venting
Kiln hook
Note: Not all shelf primers are intended to
withstand the high temperature of 1600 degrees needed to make a pot melt. Be
sure to read the label on your primer before firing to make sure it is suitable
for this advanced technique.
Pot
Melt Tips
It takes approximately 2
square foot of glass to fill an 8-inch pot.
Use
75 % to 95 % clear glass in the pot.
Use
both opal and transparent glass in the same color.
Don’t
overfill the pot.
Set
a timer. Set a timer. I mean it. Set a timer!
Pot Melt Firing Guides: 8-inch pot, 12-inch fused project
Pot Melt Fusing Guide
Segment Rate
per hour Temperature
°F Hold Minutes
1 500 1600 30-90 (until desired
result)
2 Flash Vent 1000 950 40
3 150 800 10
Let cool to room temperature.
Slumping Guide
Segment Rate
per hour Temperature
°F Hold Minutes
1 300 1265 5-15
2 1000 950 40
3 150 800 10
Let cool to room temperature.
Note: Kilns fire differently. Test fire your
kiln and make adjustments as needed.
See
it made on YouTube!
Have fun heating it up!
Lisa
It’s not too late to register!
Advanced
Glass Fusing with Lisa Vogt
October
18-21, 2016
Intermediate to advanced skill level.
Intense 4-Day, Hands-on Workshop
Lisa’s Private Glass Studio, Wesley
Chapel, Florida
Register online today!
Unlock Your Greatest Potential!
Stand out!
Striking glass work is the result of combining multiple, advanced techniques in
innovative ways to produce exceptional art. In this comprehensive, 4-day
workshop, Lisa will show you how to combine different methods of assembly to
make original, fused glass art that’ll make you
standout. Techniques include: the new Vogt-flow©, combing, weaving,
embossing, advanced layering, designing artistic shapes, plus creative and deep
slumping. You’ll also learn how to change the shape of thick, fused glass with
various saws, slitters and drills. As if that’s not enough, kiln operation, how
to make your own unique display stands and how to photograph your work, are
also covered.
How it works.
Students select
what they want to make from a wide variety of large-scale advanced project
samples. You’ll create your unique
project using full sheets of glass (not scrap) using a color combination of
your choice. You’ll enjoy pulling from Lisa’s well-stocked shelves of materials
and working in her spacious, open-air studio at your own relaxed pace. Students
will complete several, multi-process projects in class. You’ll leave the
workshop with a working knowledge of kiln operation, project specific firing
guides, an empowered level of confidence and re-inspired artistic
creativity.
What you will do in this workshop: You’ll learn how to select inspiring
color palates, design standout art that reflects your own style, work with full
sheets of glass in colors of your choice, be encouraged to combine new advanced
techniques and complete numerous large-scale pieces of art. And, you’ll leave
with an enthusiastic new level of confidence in your flourishing creative
talents.
What you won’t do in this class: You won’t wait in line to use a tool,
bump elbows in a crowded workspace or make boring knick-knacks.
I hope to see
YOU in October!
Let’s keep in touch!
Website www.LisaVogt.net
Email Lisa@LisaVogt.net
Facebook https://www.facebook.com/LisaJVogt/
Google + https://plus.google.com/u/0/