Monday, May 13, 2019

5 Pro Tips for Making Fused Glass Sinks and Large Bowls


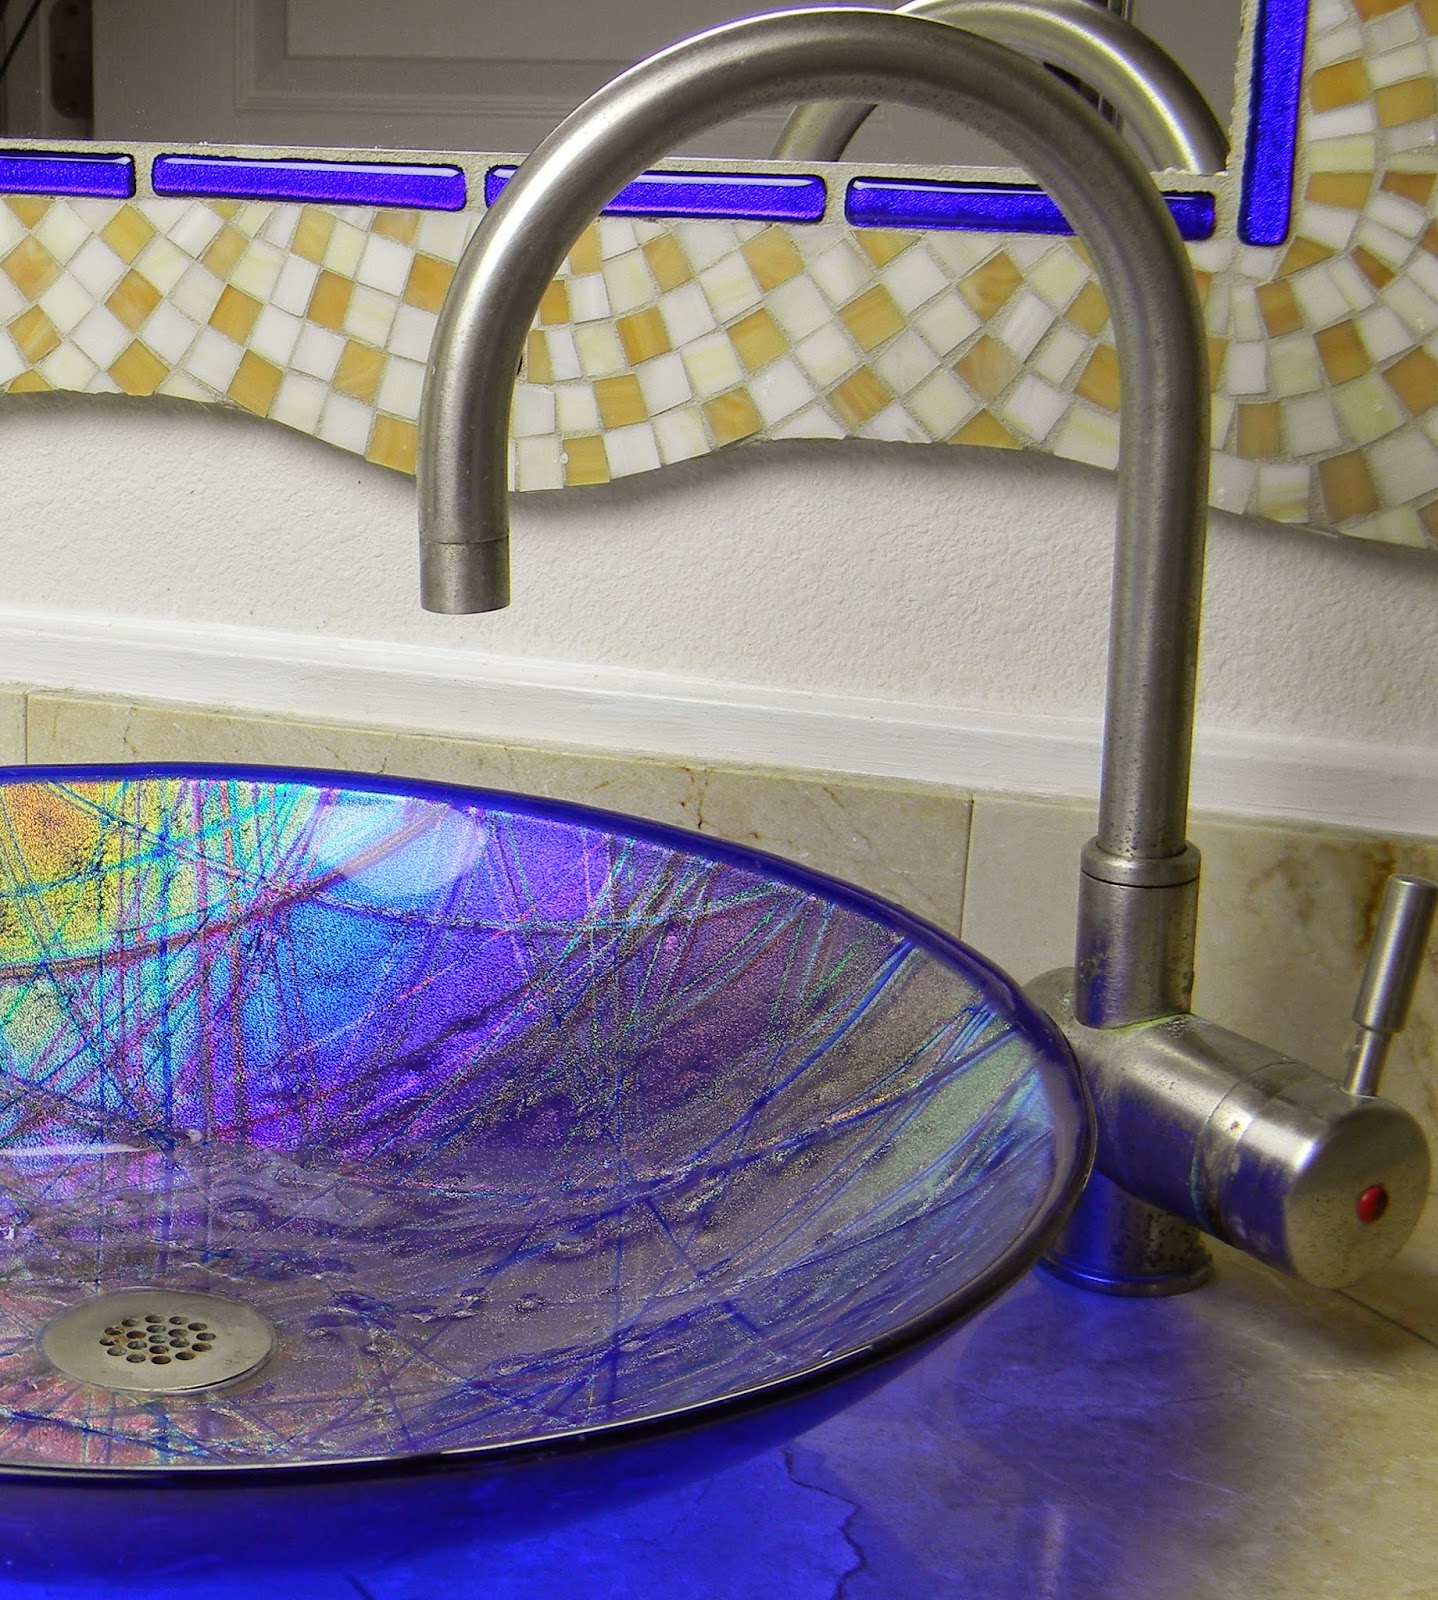
Excerpt from Make a Fused Glass Sink Webinar. Join me LIVE tomorrow! Register here

Artists are the most generous people I know. We love to share our passion. We all want to make a more dramatic and memorable impression with our art. One of the bests way to accomplish this is to go bigger and make large scale pieces that stand out in the crowd. 

But going bigger can be scary. You must invest more time and material. And there are more design decisions to make. It’s a huge commitment and you want guarantees that the finished piece will exceed your expectations. Following are some fundamental tips that’ll greatly increase your success with all your fused glass artwork.  


1 Measuring the Slumping Mold

It seems trivial, but this is where most craftsman go wrong. Everyone wants to make the largest fused glass disc possible. They then measure the mold from the outer rim to the outer rim and cut their glass circles accordingly. They wrongly assume the glass that rests on the top rim of the mold will follow the center of the fused glass disc as it slumps into the mold. The problem is the glass on the flat rim drags. 

Therefore, it does not fall into the mold evenly. The result is a bowl with uneven height in the side walls. A lopsided bowl can be avoided simply by measuring across the inside of the mold and then cutting the glass ¼ to ½ inch smaller than that measurement. Yes, the bowl is slightly smaller. No one will notice. They’ll be too busy admiring your beautifully crafted, uniform bowl with even side walls all the way around. 


2 Durability is in the Design

When going larger it’s important to design your art in such a way that the glass thickness is uniform throughout the entire piece of art. If you design the round disc with two glass layers on one side and four glass layers on the opposite side, you’ll have unbalanced mass. This can cause the finished piece of art to break due to the stress of supporting its own weight. Instead, plan your design execution in advance to ensure you have the same number of glass layers across the entire disc. Small accents pieces decorating the top aren’t a concern, provided they’re added in moderation. 


3 Let it Shine

The beauty of glass is its transparency, and the attraction of glass fusing is our ability to mix transparent and opal materials, to create various color combinations and an infinite number of intricate patterns. The wonderful thing about going large is the extended size of the creative canvas. With more room, you have more opportunity to expand your design ideas and make a dynamic statement. So rather than fumble through, take time to plan a well thought out design. Consider including pre-tacked or fused glass components for added interest. Mix both transparent and opal glass to increase visible depth. The possibilities are endless.  


4 Do Your Best Work

Don’t cut corners. No excuses. If you think to ask, “Should I recut or redo this?” My answer is, “Yes.” The more time and effort you put into each step will greatly improve the overall quality of your finished pieces. Fabrication and execution are equally as important as design esthetics. If you implement this approach, every piece you produce will be a masterpiece.  


5 Fusing and Slumping

Slow it down. Larger usually also means thicker. You’ll dramatically increase your firing success rate by slowing down both the fusing schedule and the slumping schedule. I fire my large pieces at 300 degrees per hour and hold several times on the way up to 1465 degrees to fuse, and 1220 degrees to slump. I anneal the glass at 960 degrees for 180 minutes, for both fusing and slumping, and then slowly drop the temperature down to room temperature. By being conservative with the firing schedules, I achieve consistently beautiful results every time. You can too!  


Excerpt from Make a Fused Glass Sink Webinar

For more in-depth information on making sinks and large vessels, join me for my webinar. All the pro tips and tricks will be revealed. Plus, you’ll get my custom firing guides for fusing and slumping sinks and large bowls.  

Let’s get together and make sinks in my Make a Fused Glass Sink webinar tomorrow, Tuesday, May 14, 2019.

I look forward to making sinks with you tomorrow.


Check out my sink video!
Make Fused Glass Sinks

Happy fusing!
Lisa  

Follow my blog for more tips and tricks! 


Upcoming Webinar
Let’s get together and make sinks! 


Make a Fused Glass Sink Webinar
Tuesday, May 14, 2019


Tomorrow! It’s LIVE. Ask your questions. Get immediate answers.
Join me and learn how easily you can make the sink of your dreams.

 
Creating a stunning dichroic glass sink is easy when you know how!  In this comprehensive Webinar, Lisa will guide you step by step through the time-tested processes she uses to make large-scale, functional vessels.  You'll learn safe handling techniques for cutting oversized circles, how to fuse and slump thick pieces to retain consistent bowl height, plus trade-secrets for worry free drilling.

In addition to fabrication know-how, you'll receive a complete supply list, specifics on kiln requirements, source information for the slumping mold and drill kit, as well as helpful installation tips. With all the professional tricks revealed, you'll gain the confidence and knowledge needed to make your own dazzling beauty. 

There's more! In addition, Lisa demonstrates how to make a glittering dichroic sink. Lisa will also show you how to make a cast glass sink from nipped glass pieces dichroic bits and frit. Plus, you'll be guided through the various cold-working steps she uses to finish the cast glass sink edge to a glamorous, professional, quality polish.


Learn at home at your own pace. Instructional Videos are here!


Check out my new writer’s blog.
Writer – Instructor – Artist


Thursday, May 9, 2019

Shine Bright Show Your Personality


The absolute best thing you can do to make your art stand out is to show your personality in your art. After all, your personal style is what makes your art uniquely your own. The same holds true for your website which is your public invitation to friends, family and collectors to view and buy your glass art. Showing your personality makes a statement that will get noticed. 

Through more research, I noticed today’s most attractive websites are clutter free, with crisp colors and clean lines. This helped me narrowed down my new website color scheme and design theme. My design will have a few colors plus white to showcase my art, videos and books. 

I also noticed the trend in product images is to show the products displayed on natural textures like rough cut wood, fabric or nestled among green leaves. Or the images are taken in a home setting. This fresh style promotes the now popular carefree, echo friendly culture we all want to support.   

I’m still collecting material for the new website, so I haven’t signed up for a plan yet. I have been researching site designs that will suite my needs. I’ve also been taking fun pictures of my art to add a custom flare to the site pages. 

A lot of time and energy goes into taking creative pictures that enhance the art and add to the stylized theme. 

Here are some pictures I’ve recently taken and my thoughts on what I like and don’t like about them. I can’t say for sure which ones will end up on my website. I’m going to wait and see which ones fit the spaces best when I build the site. 

River Rock Bowl from Creative Shapes video DVD. I love this picture for the soft light and it’s alluring ambiance, but it doesn’t show the bowl very well. It would be great for a page cover but not for a product shot.  

 
This picture is clean and clear. It shows the true colors and contour of the bowl. It also suggests a garden setting that supports the rock design. Taken on a patio table, it lacks a little imagination though. 


 This image is a little more artsy, it has a rich background with lush textures that contrast the smooth glass and therefore shows off the black and white glass design. It’s also a good representation of the art showing the shape and true colors.  


This one is more interesting with greenery obscuring some of the art. I like the hard landscape rock feature because it's different from the delicate plant material and the tiny red flowers just make this piece, “rock!” 


Grape Tulip from Creative Shapes video DVD has a fun shape that I want to show off. Here in the garden it stands out in front of the terracotta pots. The lighting is also good as it shows the true purple color and transparency of the glass.  


The piece gets a little lost in this busy pond setting, but I do like how the bright green of the leaf stand out and the way the unique shape is obvious. I also like the gray stone and how the hard surface contrasts the graceful curves of the art.  

 
The lighting on the glass and the strong brick pattern make this picture a winner. It’s a simple but effective way to show the art and create an appealing mood. 

 
Garden Party from Fun & Fanciful Fusing DVD is a beautiful spray of spring flowers. Here nestled among lush plants the bright colors pop. The warm background colors and natural textures suggest comfort and style combined. 


I tried it in a flowerpot. I like the bright colors and vivid blue sky, but the strong shadows on the bowl are distracting to the flower colors and ornate design. This picture would be another good page image, but it doesn’t represent the art well enough to be a product picture. 


I love this image. The lighting is great. The glass colors and bowl shape are accurately represented. And the stones add a hard landscape element that contrasts the delicate glass flowers. The neutral background texture and color doesn’t compete with, but shows off the pretty glass colors.  

That’s all for now. More to come. 

Until next time…

Happy fusing!
Lisa

Follow my blog for more tips and tricks! 


Welcome Life-Long Learners
Upcoming Webinar
Let’s get together and fuse glass!


Join me Next Week! 
Make a Fused Glass Sink Webinar
May 14, 2019

In this comprehensive webinar, I’ll guide you step-by-step through the time-tested processes I use to make large-scale, functional bowls.

You'll learn safe handling techniques for cutting oversized circles, how to fuse and slump thick pieces to retain consistent bowl height, plus trade-secrets for worry free drilling. In addition, I’ll demonstrate how to make a glittering dichroic sink. I’ll also show you how to make a cast glass sink from nipped glass pieces, dichroic bits and frit.

In addition to fabrication know-how, you'll receive a complete supply list, specifics on kiln requirements, source information for the slumping mold and drill kit, as well as helpful installation tips.

With all the professional tricks revealed, you'll gain the confidence and knowledge needed to make your own dazzling beauty.


Wait...there's more!

You'll be guided through the various cold-working steps I use to finish the cast glass sink edge to a glamorous, professional, quality polish.


NEW Workshop Now Registering!

Sculptural Fused Glass, 4-Day, Hands-on Workshop
October 15-18, 2019
Join me for this intense workshop held in my private studio in Wesley Chapel, Florida. Class size is limited to 4.

Sculptural fused glass is the creation of three-dimensional forms that rise above a flat plane. Artists create 3-D works by using multiple methods and techniques with complete freedom of materials and process.

In this class, you’ll push the boundaries glass imposes. Students will use innovative approaches to design and combine multiple advanced techniques to construct original sculptural art.

You’ll enjoy: the one-on-one instruction, making large scale projects, the well-equipped classroom, and the intimate class size.

Its hard-core fusing in a nurturing, relaxed environment.
You'll love the concentrated, in-depth study and creative momentum you’ll gain while actively producing nonstop, for four consecutive days.

You’ll leave class with a working knowledge of kiln operation, custom project specific firing guides and the inspiration you’ve been craving to go sculptural!


Learn at home at your own pace. Instructional Videos are here!

 Check out my writer’s blog.