Fusing Fundamentals-Beyond Basics
Wherever you
are in your glass fusing journey, newbie or advanced artisan, I believe we can
all benefit from reviewing construction basics on occasion. Here’s why:
Excited newbies
are usually so eager to cut glass that they don’t really hear the
guidelines and they lack the experience to realize the relative importance of
these recommendations on their finished project. While advanced crafters are
absorbed in the creative process and the end result, to the point that they can
go blind to the practicality of solid construction.
Then there are
those dare devils who’ve stumbled onto glass fusing and are immediately hooked.
They dive right in giving little, if any, consideration to protocol. You know
who you are. You fire first and ask later.
No matter how
you came to call yourself a fuser, this is for you.
Let’s start at the beginning.
Glass Fusing- Defined
Glass fusing is
the process of taking compatible glass, stacking it to make a pattern or design
and then firing it in a kiln until the glass melts together. Simple, right?
Now, let’s build from there.
Glass Fusing Fundamentals
 |
| Pre-fire - Left to right: one layer, two layers, three layers |
Volume Control
– The Foundation for Quality Work
What is volume control, and why is it
important?
Volume control
is the relationship between how a project is assembled and its finished size,
shape and thickness after fusing. It’s a formula you can use to accurately
predict how your project will look and feel after it’s been fired.
Let’s say you
want to fuse a series of glass tiles to make a back-splash for your kitchen.
But, you can only fit 20 tiles in your kiln at one time, and you need 200 tiles
to complete the job. With what you’ll soon learn about volume control, every
tile from the first to the last will match beautifully. Or, let’s say you have
a tropical fish pattern you’d like to work into a larger project. Here, the
size and shape of the finished piece is very important to you. If the fish
shrinks or grows in size it could ruin the entire design.
Another thing
to consider, is whether or not you intend to slump your fused glass. The fused
glass must fit neatly inside the
mold, not on the rim, or it will
slump unevenly to one side. This is where volume control comes into effect.
With it, you’ll know how to compensate for any potential growth in advance of
fusing your glass. (A good rule of thumb is to measure the mold and then cut
your glass ¼ inch to ½ inch smaller than that measurement.)
You have
choices when it comes to how to assemble your projects. Different methods of
construction will result in different project characteristics. Our goal here is
to give you the tools to make educated decisions when selecting your technique
so you have greater control and more satisfying results.
 |
| Post-fire –Left to right: original unfired tile, fired one layer, two layers, three layers |
How Glass Reacts to High Heat
Fused glass
seeks a thickness of ¼ inch. That means a project made with a single layer of
1/8” thick glass will shrink. When it shrinks, the edges roll in and can become
sharp. This shrinkage causes inconsistencies in the glass thickness. It’s
usually surprisingly thick around the perimeter and thin in the middle. A
project made by layering two pieces of 1/8” thick glass is likely to retain its
original size and shape, and will have a consistent thickness throughout. While
a project made by layering three pieces of 1/8” thick glass will grow. When it
grows, the shape distorts and a square becomes a bad circle.
Before starting
a project, ask yourself how it will be used. If it’s an ornament, a single
layer might be your best method of assembly due to the loose, freeform shape
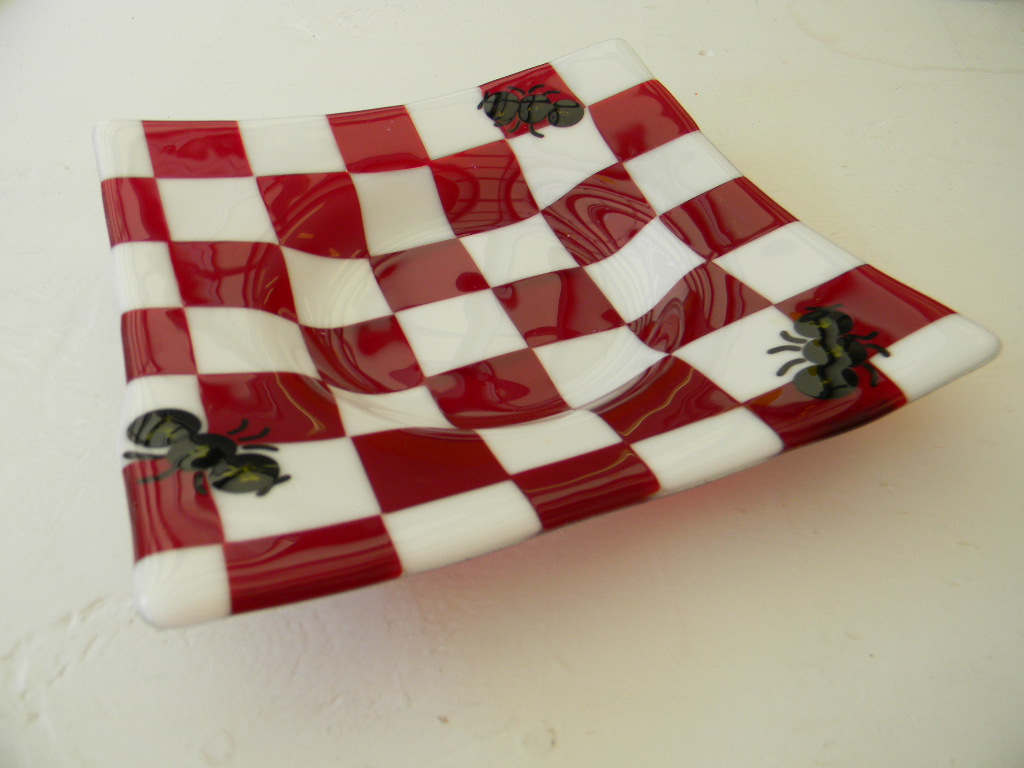
and its light weight. If the piece is intended to be a decorative bowl, the two-layer
assembly would be my choice. It has a clean, rounded edge quality and is
consistent in thickness throughout. Now, if I were making a patterned sheet of
glass to cut up with my saw, I’d go for the three-layer approach. In this
example, the finished size and shape of the fused glass blank is irrelevant
because the fused glass will be cut up.
How the placement of accents effect the
size and shape of fused glass.
 |
| Pre-fire |
 |
| Post-fire |
My Building Process
Most of my work
is assembled with the two layer, plus accent method. I refer to the bottom
layer as the base and the second as
the design layer. The base layer and design layer are the same shape and size. The base layer is often a single piece of clear, but not always;
sometimes it’s made up of cut pieces. The second design layer can be a single piece of glass, but often, its pieces
fit together to make a specific pattern or design. The third accent layer is minimal and it usually
consists of small fusible elements that enhance the design theme. I choose to
build this way because I get consistent results time after time. The finished
size and shape of the artwork is predictable. The pieces come out of the kiln
with beautiful rounded edges and a consistent thickness that is both attractive
and durable.
It’s All Good
Keep in mind,
there’s no single right or wrong way to make any project. Personal preference,
design style and function, should all play a role in helping you decide which
approach is best. The objective is to consciously choose your fabrication
method based on a solid understanding of the medium, rather than on a whim.
There are
always exceptions to the rules. The minute I make finite rules for myself, I
break them. So, I’ve learned not to box myself in. You shouldn’t either.
Enjoy the journey. The destination will
take care of itself.
Happy Fusing!
Lisa
For FREE tips and tricks subscribe here
Like Me on
Facebook www.Facebook.com/LisaJVogt

Upcoming Webinar
Fusing with Frit, January 24, 2017

Upcoming hands-on Workshop
There’s still room!
Advanced
Glass Fusing Workshop with Lisa Vogt
February
21-24, 2017, Wesley Chapel, FL
Register here http://www.lisavogt.net/products.aspx?id=478
Beginner to Advanced skill level.
4-Day, Hands-on Workshop
Lisa’s Private Glass Studio, Wesley
Chapel, Florida
Register online today! Class size is
limited to 4!
In this workshop, you’ll learn how to select inspiring
color palates, design standout art that reflects your own style, work with full
sheets of glass in colors of your choice, be encouraged to combine new advanced
techniques and complete numerous large-scale pieces of art. And, you’ll leave
with an enthusiastic new level of confidence in your flourishing creative
talents.
You won’t wait in line to use a tool, bump elbows
in a crowded workspace or make boring knick-knacks.
Here’s what the students are saying
about the workshop.
“I loved how
many completed projects we were able to make during the workshop.”
“What surprised
me was that we could work on anything we wanted to and everyone could be
working on different projects.”
“Awesome
workshop! I loved the creative flow between the instructor and the participant.
Lots of positive feedback and encouragement. Lots of attention to detail.”
No comments:
Post a Comment